Aman Android SDK
Your clients have ready access to all of Aman's payment options.
Prerequisites
Aman SDK will allow your Android application to:
- initiates full-screen activities to get the shipping address, method of shipping, and payment information.
- Card, reference code, and installment payment options are easily obtained from Aman.
Make sure you are satisfied with the following compatibility list in order to prevent any conflicts and ensure a smooth integration.
| item | compatible version | References |
|---|---|---|
Android SDK Platform |
5.0 (API level 21) and above |
Android
developers' guide |
Android Gradle Plugin |
4.1.3 |
Android
developers' guide |
| Gradle | 6.5 and above (gradle-6.5-bin.zip) | gradle.org |
How Android SDK Plugin Looks Like
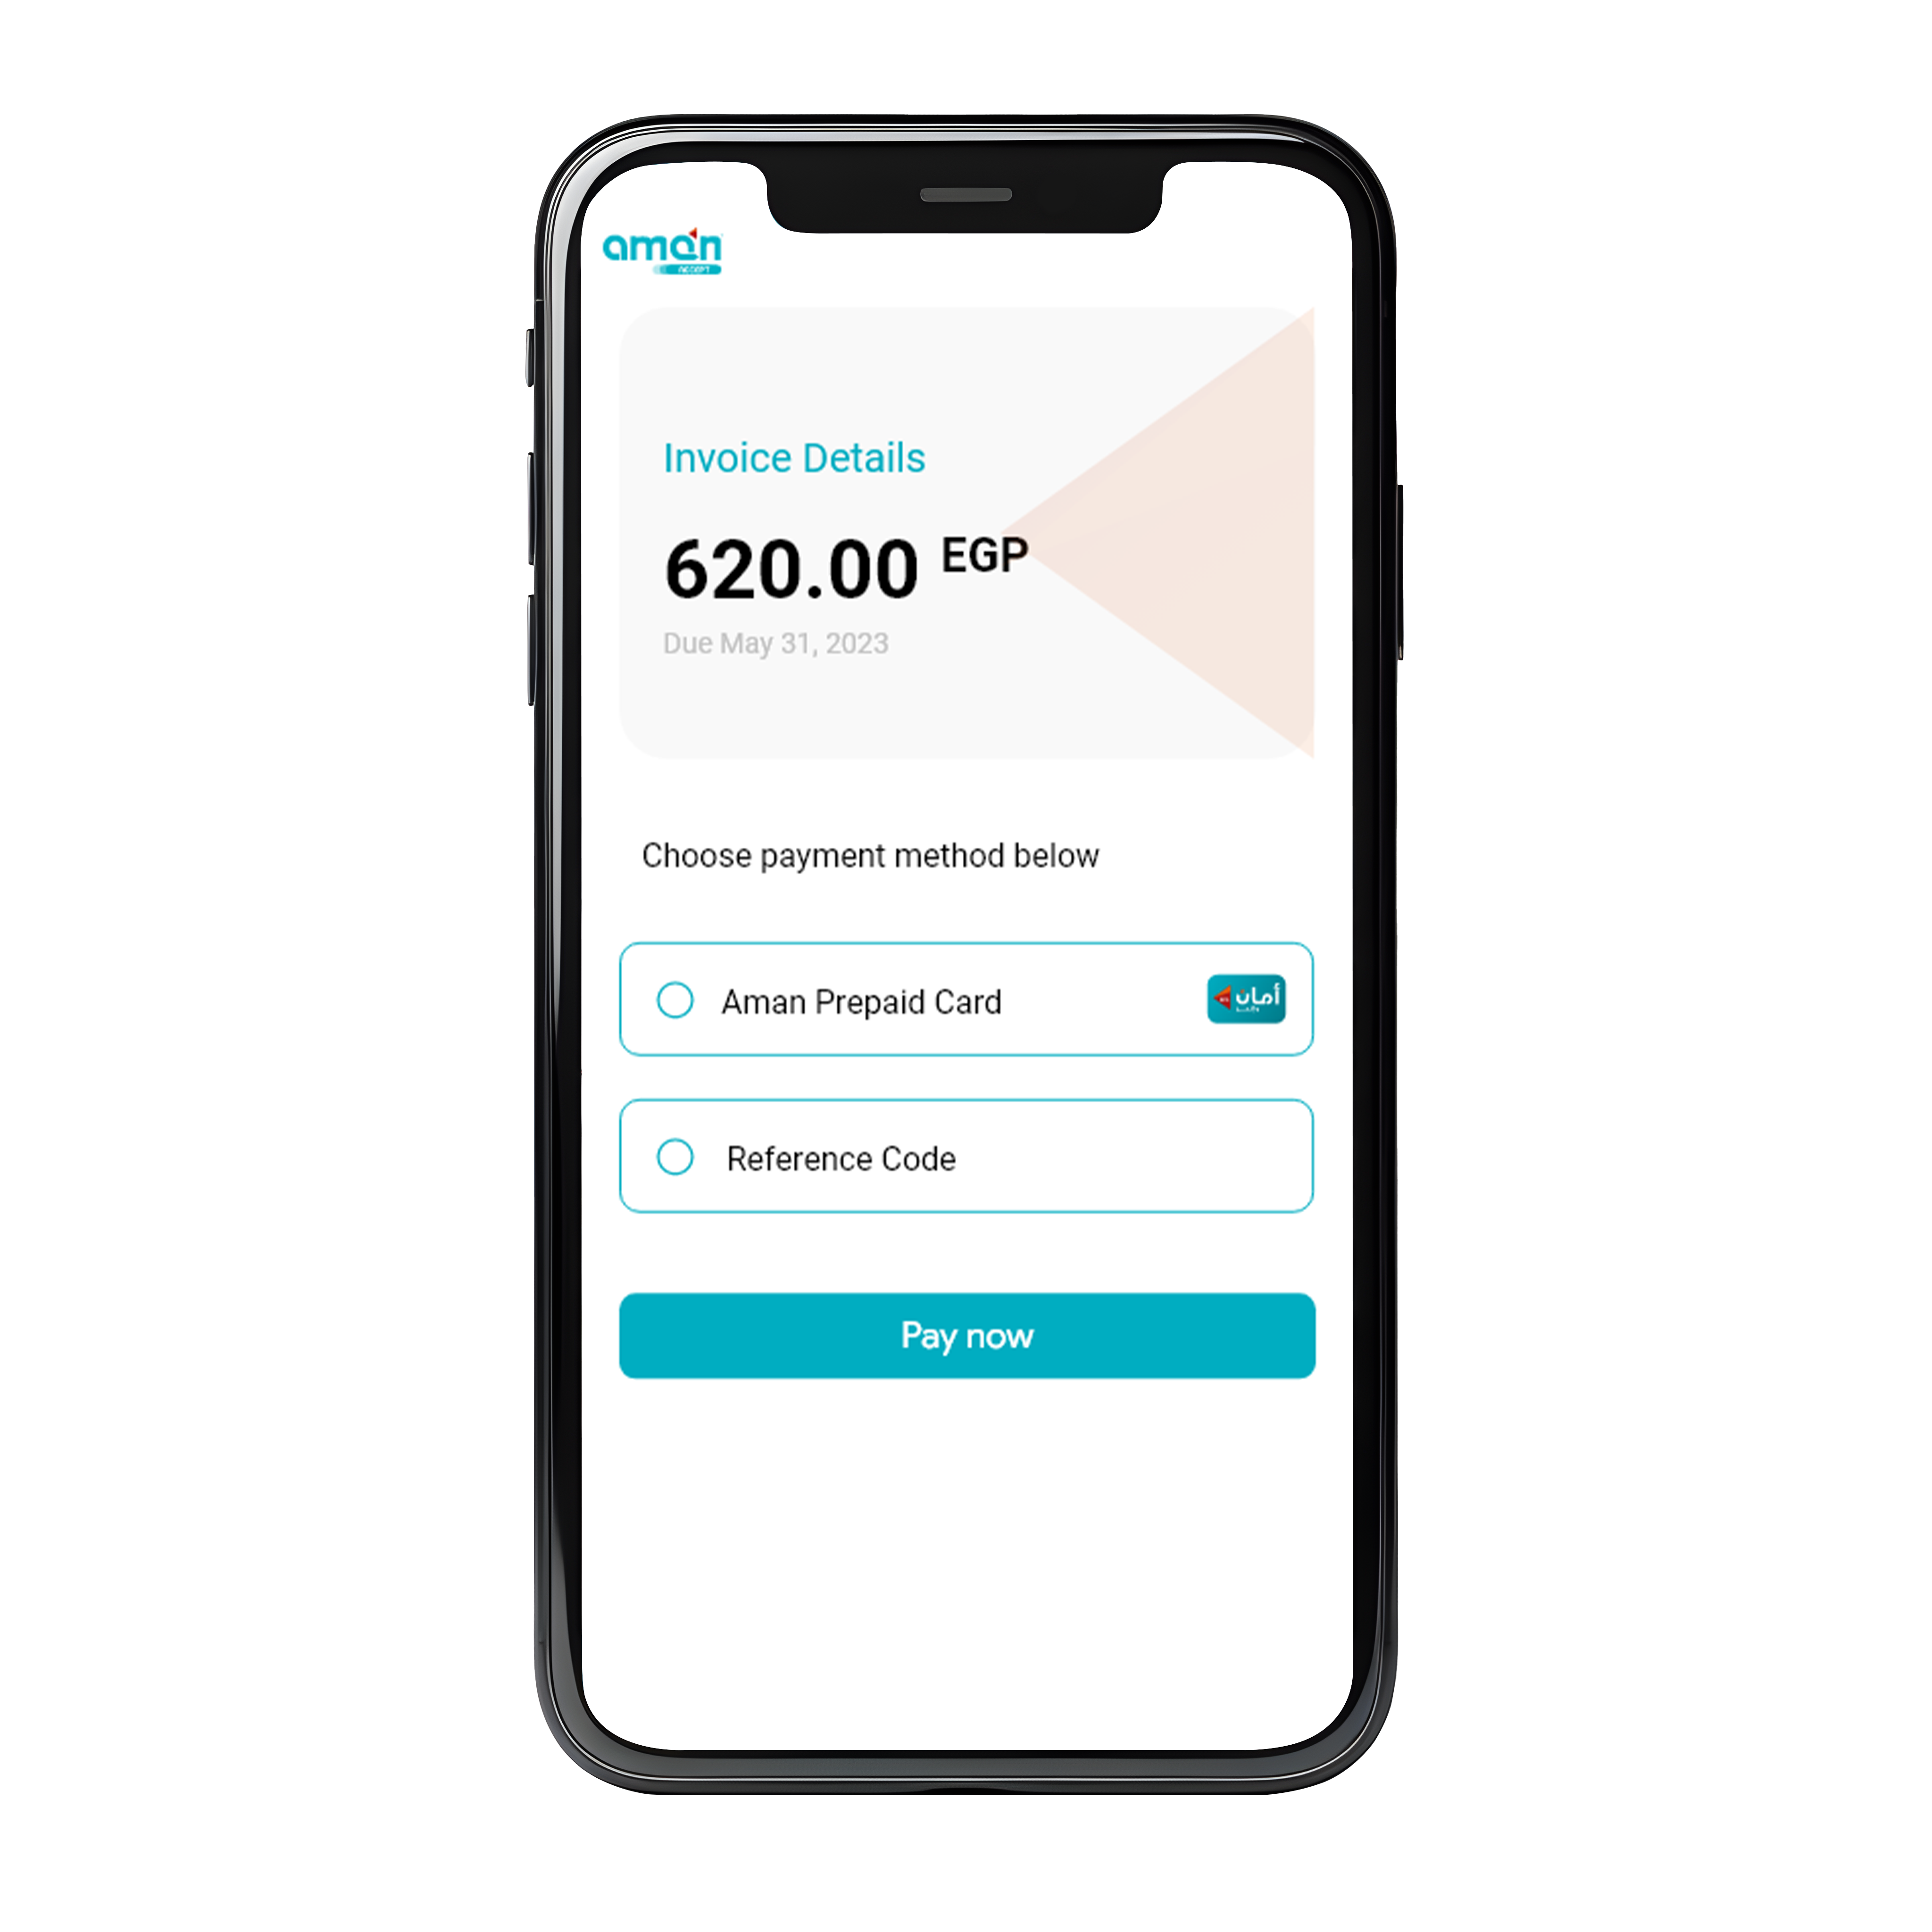

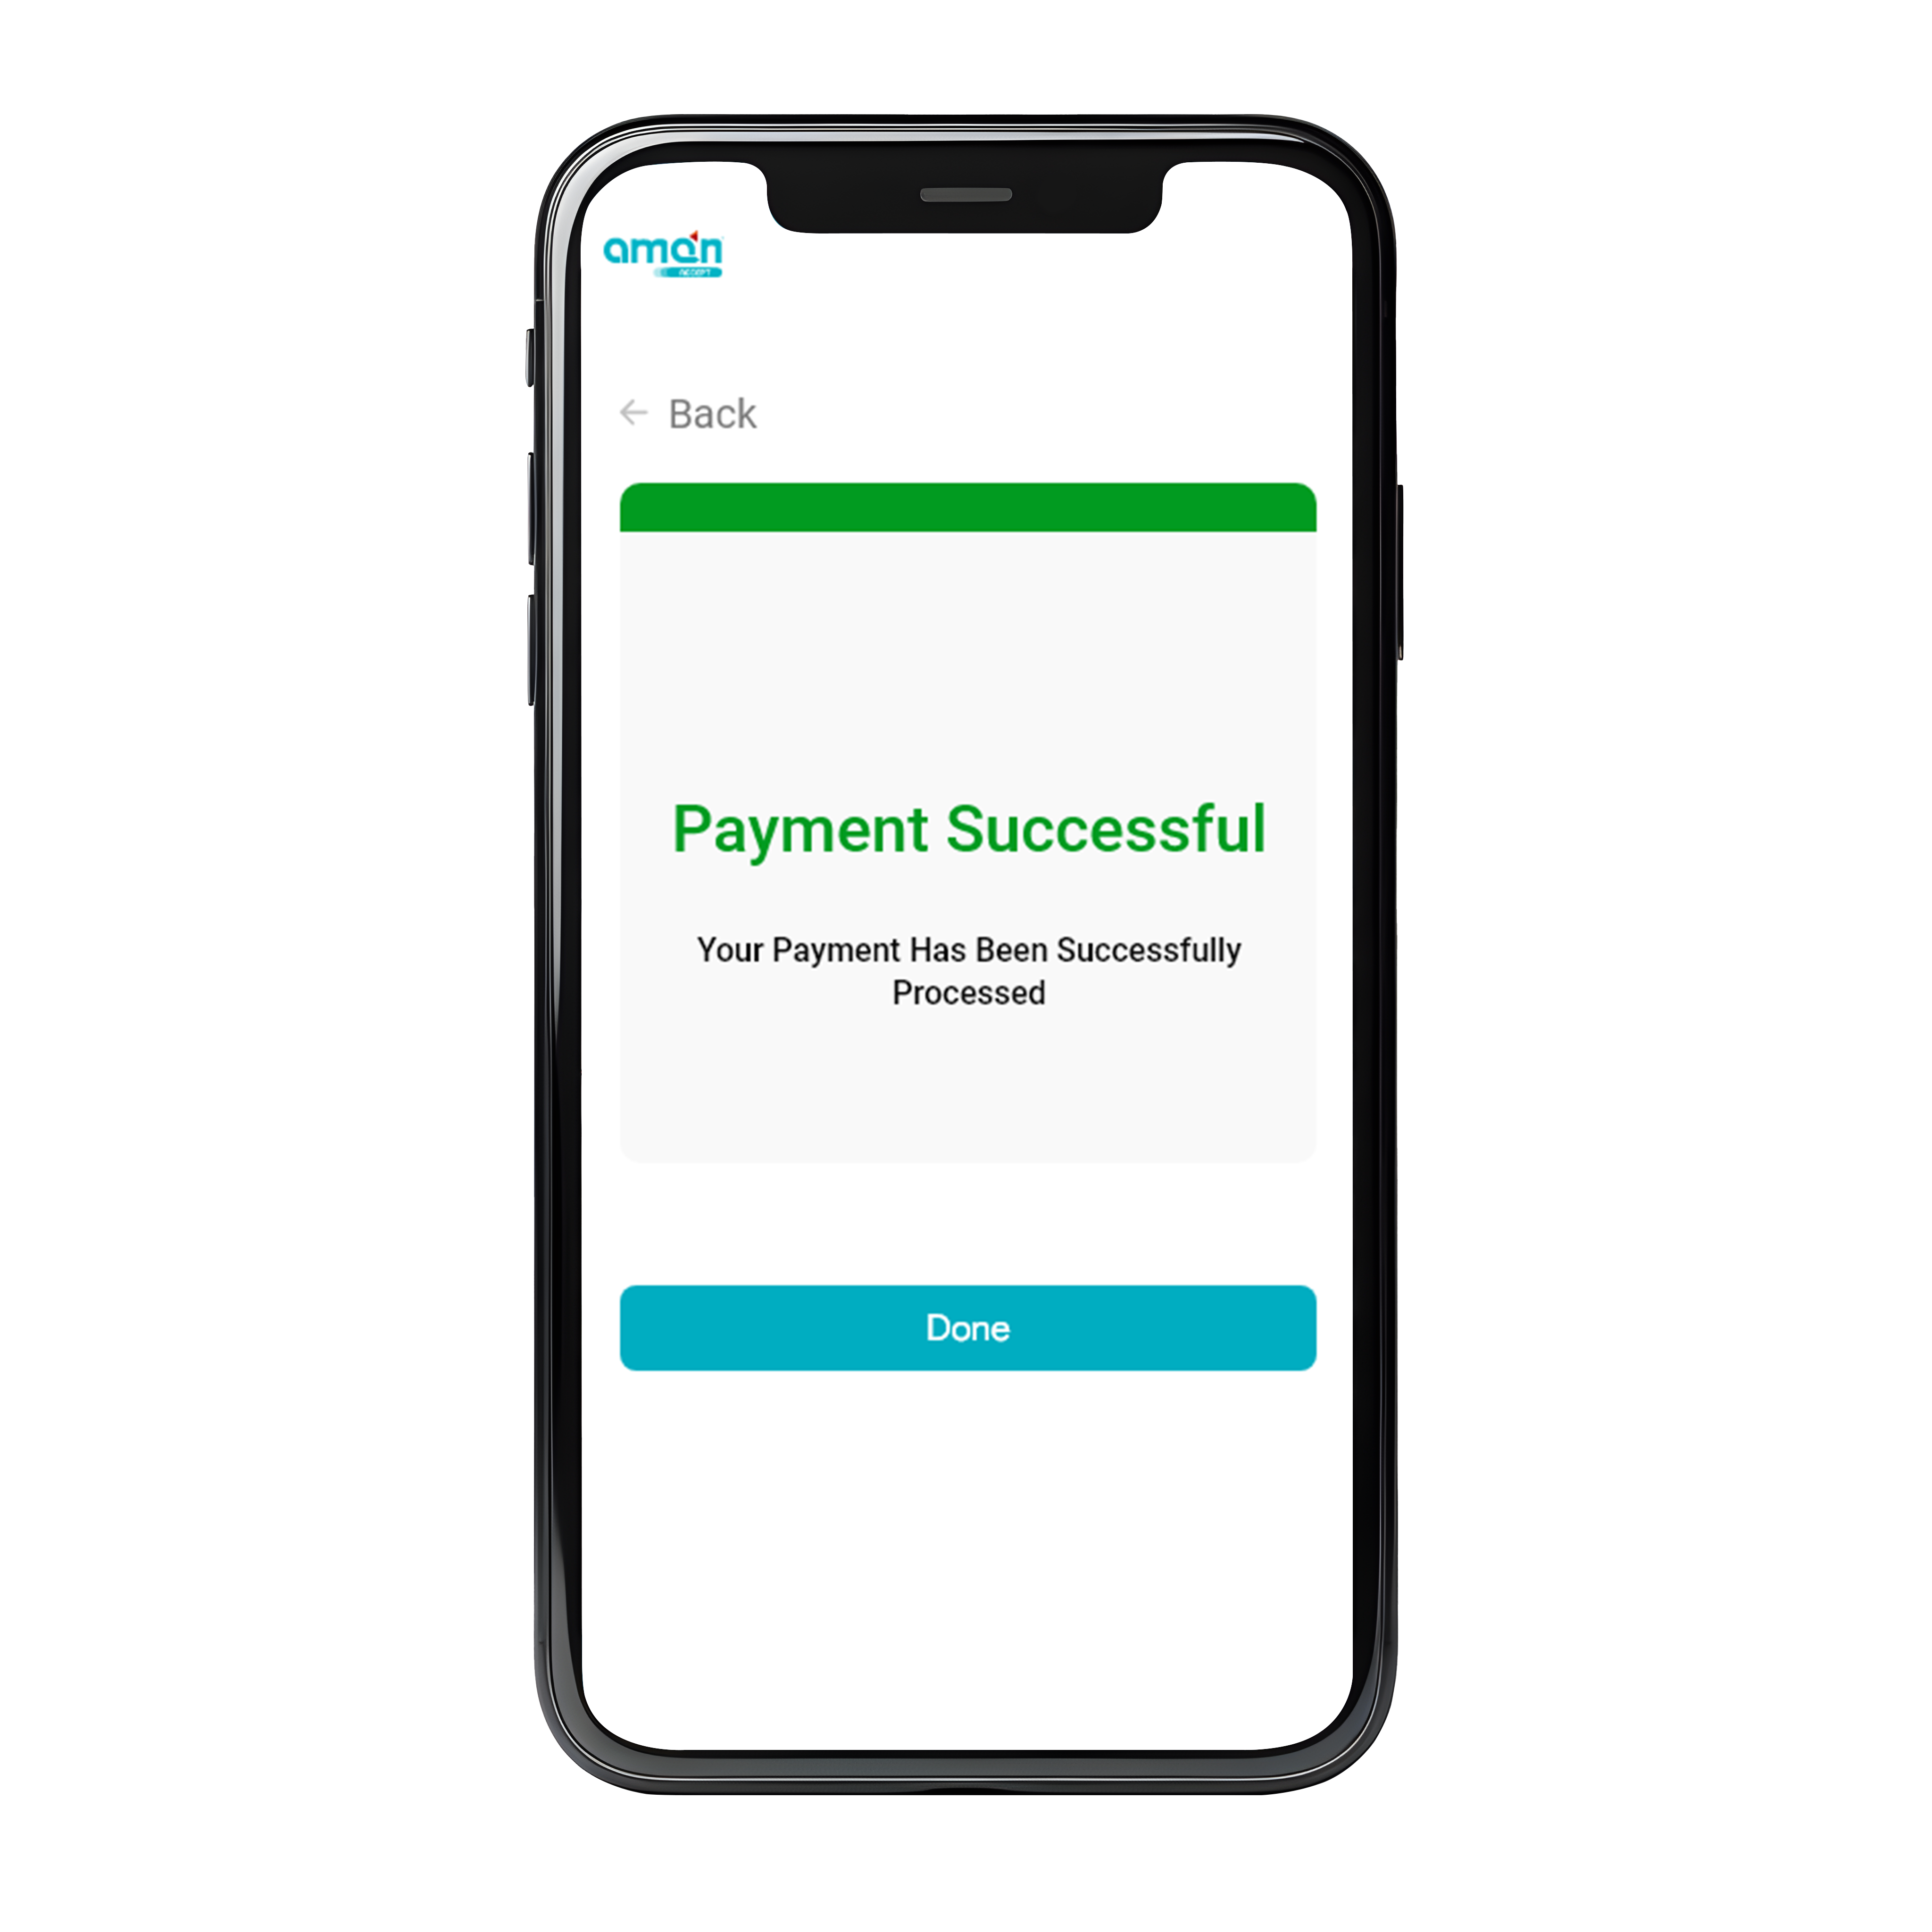
and test Aman demonstrative application.
How it works

We will guide you through the Android SDK integration process on
this page:
- Set up and initialize the SDK for
Android. - Provide payment options and obtain the payment information from your client.
- Aman will receive a payment request from the Aman
AndroidSDK plugin. - Give our
AndroidSDK plugin the payment processing information back. - Share the payment outcome with your client through your
Androidapplication.
SDK Integration
There are two ways to integrate the Aman Android SDK: manually and automatically. The two integration techniques are covered in this section.
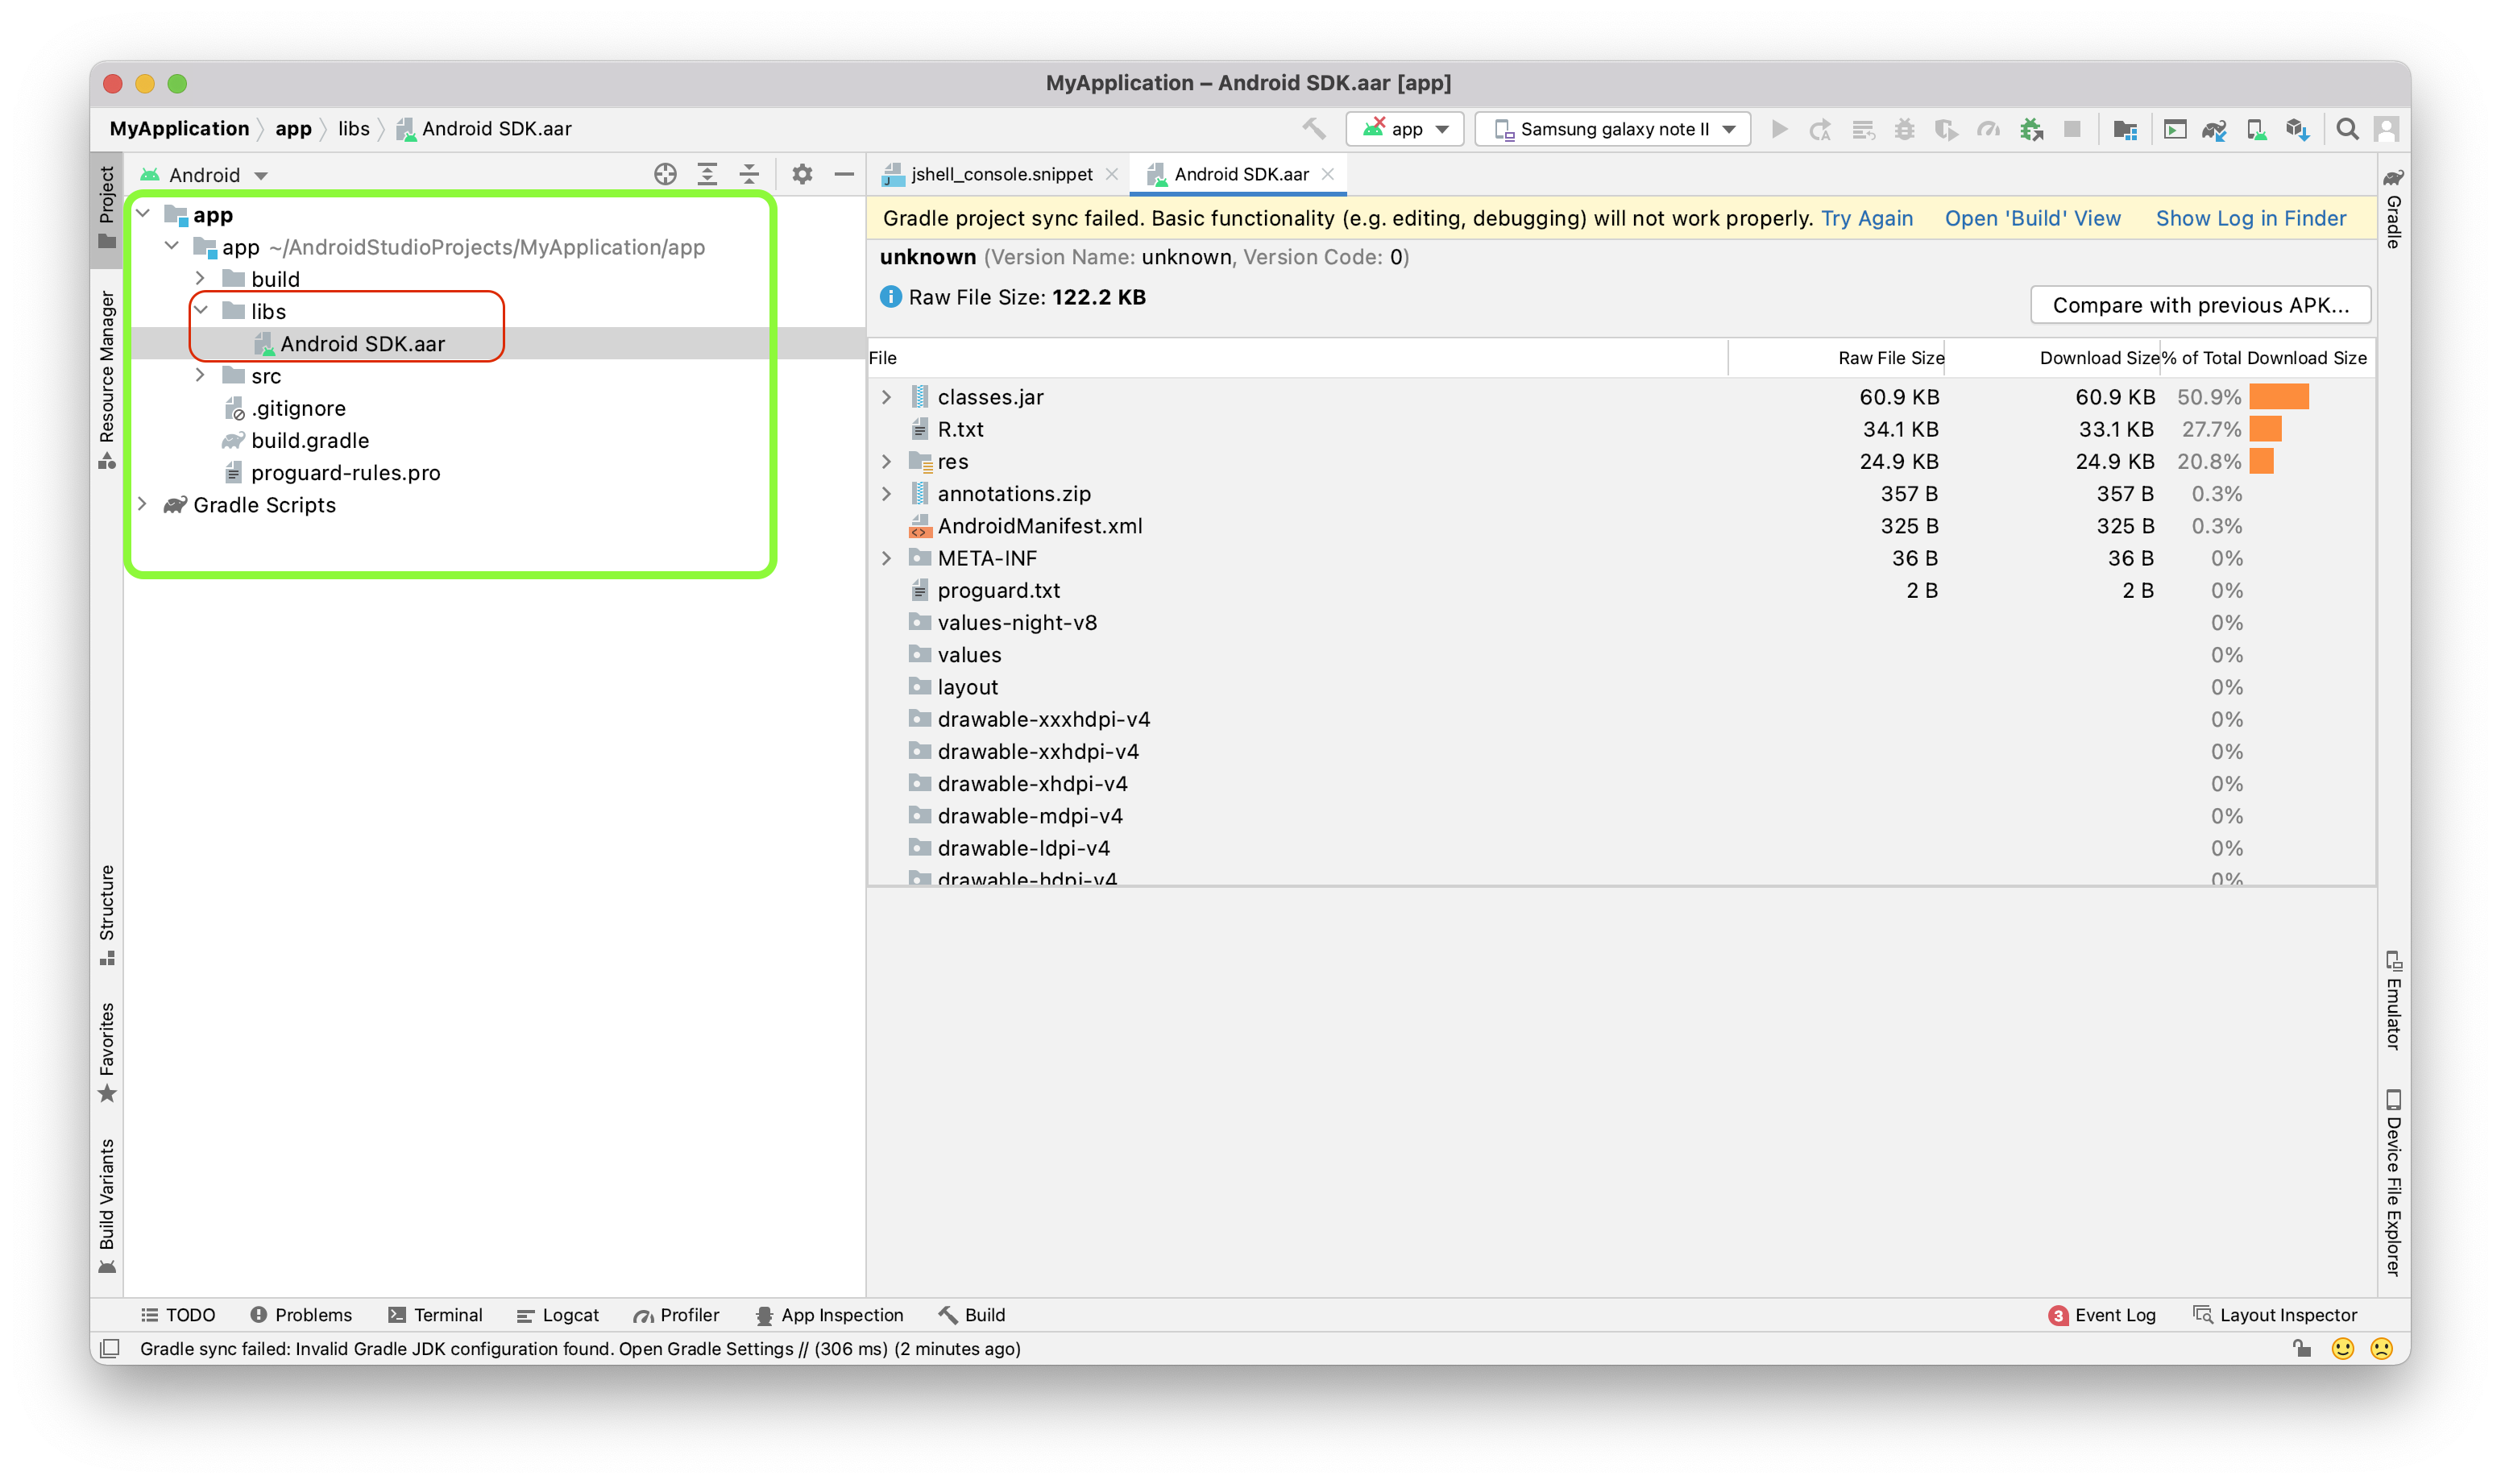
Option 1: Manual Integration
-
Aman
AndroidSDK. - Copy the downloaded
aarfile to your project' libs folder. - Insert the below
repositoriesblock inside theandroidblock to Configure your module Gradle build file. - Provide a dependency configuration, such as implementation in
the
dependenciesblock of yourbuild.gradlefile, for the followingdependencies(that are not already supported in yourdependenciesblock) and configure them for your project. - You have to add the aar file like bellow If your gradle version is higher than 7.0 :
allprojects{
    repositories {
        mavenCentral()
        flatDir {
            dirs 'libs'
        }
    }
}implementation(name: 'cashier-sdk-1.0.4', ext: 'aar')implementation(name: 'cashier-sdk-1.1.2', ext: 'aar')implementation(name: 'cashier-sdk-1.0.4', ext: 'aar')Option 2: Auto Integration
- Configure the below dependency to your
build.gradlefile. - Insert the below
repositoriesblock inside theandroidblock to Configure your module Gradle build file.
implementation 'team.aman.sdk:cashier-sdk:1.0.4'maven {
url 'http://arifactory.amanride.com/nexus/content/repositories/public/'
credentials {
username = 'merchant'
password = 'merchant'
}
}SDK API hooks
After integrating Aman SDK, now it's time to know how to use our SDK API hooks to:
- Toggle between Sandbox (testing) and Production environment.
- Create payment order.
- Handling payment result.
- Order status query.
Setup SDK Environment
You can use our SDK in testing mode while developing and integrating by configuring
the sandBox to true:
PaymentTask.sandBox = trueAfter testing is complete and your application is prepared for production, you can
toggle the sandBox variable to false:
PaymentTask.sandBox = falseCreate Payment Order
The values that should be passed through your PayInput object are shown
in the table below, which shows how your app cart item should implement the
PayInput object.
| Parameter | type | Required | Description | |
|---|---|---|---|---|
| publickey | String |
required | Your Aman merchant account public key. | |
| merchantId | String |
required | Your Aman account merchant ID. | |
| merchantName | String |
required | Merchant Name to be displayed in cashier checkout form. | |
| reference | String |
required | Payment reference number in your system. | |
| countryCode | String |
optional | Country code (EG). | |
| currency | String |
required | Currency type (EGP). | |
| payAmount | Long |
required | payment total amount. | |
| productName | String |
required | Name of Product/Service to be purchased. | |
| productDescription | String |
required | Description of Product/Service to be purchased. | |
| callbackUrl | String |
required | The callback URL over which you will be listening to the payment status updates. If not configured, you have to configure a webhook url on the merchant dashboard. | |
| expireAt | Integer |
required | Payment expiration time in minutes. | |
| paymentType | String |
optional | The preferred payment method to be presented to your customer (BankCard, ReferenceCode, Shahry). If not set, all supported payment methods will be available to your customer to choose from. | |
|
userInfo JSON Object |
||||
| userId | String |
optional | the customer user id | |
| userName | String |
optional | the customer user name | |
| userMobile | String |
optional | the customer user mobile | |
| userEmail | String |
optional | the customer user email | |
Create PayInput object is given below.
PayInput payInput=new PayInput("AmanPUB123456",//public key
    "256612345678901",//merchantID
    "TEST 123",//merchant name
    "a2b050zzzz",//reference, reference unique
    "EG", //uppercase//country
    10000,//amount
    "EGP", //uppercase //currency
    "test",//ProductName
    "testtest",//ProductDescription
    "http://www.baidu.com",//callback Url
    "BankCard",//Payment Type
    30,//expire at
    "110.246.160.183",// user ip
    new UserInfo("UserId","UserName","UserPhone","Email")
);
val payInput = PayInput(
publickey = "{PublicKey}",
merchantId = "256612345678901",
merchantName = "TEST 123",
reference = "12347544444555666",
countryCode = "EG", // uppercase
currency = "EGP", // uppercase
payAmount = 10000,
productName = "",
productDescription = "",
callbackUrl = "http://www.callbackurl.com",
userClientIP = "110.246.160.183",
expireAt = 30,
paymentType = "", // optional
userInfo = UserInfo(
//optional
userId = "userid001",
//optional
userName = "David",
//optional
userMobile = "201066668888",
//optional
userEmail = "test@email.com",
)
)Once the necessary PayInput data has been initiated, you must call
PaymentTask(this).createOrder To begin creating an order. Here is an
example of code:
new PaymentTask(this).createOrder(
    payInput,((status, orderInfoHttpResponse) -> {
        switch (status) {
            case LOADING:
                break;
            case CANCEL:
                break;
            case SUCCESS:
                break;
        }
        return Unit.INSTANCE;
    })
);
PaymentTask(this).createOrder(payInput, callback = { status, response ->
when (status) {
Status.ERROR -> { // error
Toast.makeText(this, response.message,
Toast.LENGTH_SHORT).show()
} else -> {
}
}
})The user will be redirected to complete the payment once CreateOrder is
called. In the event of an error, you must override the callback listener. Only the
CreateOrder error will be returned by the callback. An error toast
message will appear if you forget to add a callback.
Sample CreateOrder error response
{
    "code": "00001",
    "message": “order already exist”,
    "data": null
}
Handling Payment Result
onActivityResult method and call the following methods in order to obtain
this result information:
@Override
protected void onActivityResult(int requestCode, int resultCode, @Nullable  Intent data) {
    super.onActivityResult(requestCode, resultCode, data);
    if (requestCode == PaymentTask.REQUEST_PAYMENT) {
        if (resultCode == PaymentTask.RESULT_PAYMENT) {
            WebJsResponse response = (WebJsResponse) data.getExtras().getSerializable(PaymentTask.RESPONSE_DATA);
            switch (response.getOrderStatus()) {
                case PaymentStatus.INITIAL: {
                    Log.e("", response.getOrderStatus());
                    break;
                }
                case PaymentStatus.SUCCESS: {
                    Log.e("", response.getOrderStatus());
                    break;
                }
                case PaymentStatus.FAIL: {
                    Log.e("", response.getOrderStatus());
                    break;
                }
                case PaymentStatus.PENDING: {
                    Log.e("", response.getOrderStatus());
                    break;
                }
            }
        }
    }
}
override fun onActivityResult(requestCode: Int, resultCode: Int, data: Intent?) {
super.onActivityResult(requestCode, resultCode, data)
if (requestCode == PaymentTask.REQUEST_PAYMENT){
if (resultCode == PaymentTask.RESULT_PAYMENT){
val response = data?.getSerializableExtra(PaymentTask.RESPONSE_DATA) as WebJsResponse?
when(response?.orderStatus){
PaymentStatus.INITIAL ->{}
PaymentStatus.PENDING ->{}
PaymentStatus.SUCCESS ->{}
PaymentStatus.FAIL ->{}
PaymentStatus.CLOSE ->{}
}
}
}
}
}Order Query Status
The order status may not be updated in a timely manner due to network and other
problems. Calling order status inquiry is highly recommended if you want to make
sure your data is accurate. In order to do that, you must create an object called
CashierStatusInput with the following request parameters:
| Parameter | type | Required | Description |
|---|---|---|---|
| publickey | String |
required | Your Aman merchant account public key. |
| merchantId | String |
required | Your Aman account merchant ID. |
| reference | String |
required | Payment reference number in your system. |
| countryCode | String |
required | Country code (EG). |
CashierStatusInput statusInput = new CashierStatusInput(
    "{PublicKey}",
    "256621050820270",
    "12347544444555666",
    "",
    "EG"
);
val input = CashierStatusInput(
privateKey = "{PublicKey}",
merchantId = "256612345678901",
reference = "12347544444555666",
countryCode = "EG"
)After generating the CashierStatusInput object.Use the
PaymentTask( activity ).getCashierStatus() method to find out the
status of an order, then proceed with the logic based on the returned response
object.
new PaymentTask(this).getCashierStatus(statusInput, (status, response) -> {
    if(status == Status.SUCCESS){
        //data
        OrderInfo orderInfo = (OrderInfo)response.getData();
    }else if(status == Status.ERROR){
        Toast.makeText(this, response.getMessage(), Toast.LENGTH_SHORT).show();
    }else{

    }
    return null;
});
PaymentTask(this).getCashierStatus((input, callback = { status, response ->
when (status) {
Status.SUCCESS -> {
val data = response.data as OrderInfo
// data
}
Status.ERROR -> {
Toast.makeText(this, response.message, Toast.LENGTH_SHORT).show()
}else -> {
}
}
})Response data format is as follows:
{
  "code": "00000",
  "message": "SUCCESSFUL",
  "data":{
        "reference":"1001000",
        "orderNo":"10212100000034000",
        "status":"SUCCESS",
        "vat":{
          "total":10000,
          "currency":"EGP",
          "rate":100,
          "currencySymbo":"ج.م"
        },
  "failureReason":null,
  "silence":"Y"
}